Good Morning everyone! Hope you are all well! I was a bit off my game yesterday...going a million directions! Things have calmed down today...thankfully and I'm here to share this weeks 12 Weeks of Stampin' Up! Christmas project with you! ENJOY!
Thanks so much for stopping by today! I hope you have a WONDERFUL day and life goes smoothly! Come back this evening at 6:00pm (PST) for the Inspire, Create, Share blog hop! It will be lots of FUN!

Snowman Season
All
images © 1990-2019 Stampin’ Up!®
Supplies:
·
Stamp Set – Snowman Season (150458); Bundle with Snowman Punch (152337)
·
Card Stock – Thick Whisper White (140272); Whisper White (100730); Cherry
Cobbler (119685)
·
Stamp Pads – Memento Tuxedo Black (132708)
·
Misc. – Stampin’ Blends Pool Party Combo (144605); Stampin’
Blends Light Smoky Slate (145054); Stampin’ Blends Light Pumpkin Pie (144578);
Let It Snow Specialty Designer Series Paper (150393); Diagonal Stripe Ribbon in
Cherry Cobbler (150439); Winter Knit 3D Embossing Folder (150645); Starburst
Punch (143717); 2” Circle Punch (133782); Stampin’ Dimensionals (104430); Mini
Stampin’ Dimensionals (144108); Snail Adhesive (104332); Mini Glue Dots
(103683); Paper Snips (103579); Embossing/Die Cutting Machine
Measurements:
·
Thick Whisper White Cardstock: 5 ½” x
8 ½” scored at 4 ¼”
·
Whisper White Cardstock: 4” x 2 ½” for
sentiment and 2” circle punch
·
Cherry Cobbler Cardstock: 5 ¼” x 4”
·
Let It Snow Specialty Designer Series
Paper: 2” x 4” for banner and a scrap piece approx. 2 ½” for starburst punch
Instructions:
1. Emboss the Cherry Cobbler layer with the Winter Knit
embossing folder and add it to the front of the thick Whisper White Card with
snail adhesive.
2. Cut a flag banner at the bottom of the 2” x 4” piece of
Designer Paper with your paper snips and add it to the front of your card with
snail adhesive.
3. Stamp the sentiment and snowman image on Whisper White
cardstock using Memento Black Ink. Punch the snowman out with the 2” circle
punch and cut the sentiment out with your paper snips. Color the snowman with
Stampin’ Blends. I used the light Pumpkin Pie for his nose, light Pool Party
for the snowman, and Smoky Slate for the snow and outline of the snowman. Then
I used the light Pool Party to make dots of snow on the sentiment.
4. Punch some Designer Paper using the Starburst Punch. The
print I used is the backside of the snowman one shown on the banner.
5. Make a faux bow with the Cherry Cobbler Ribbon and tack it
down on the card front with Mini Glue Dots. (I don’t really tie a bow so that
it’s not bulky) Attach the snowman image to your Starburst Punched shape with
snail and pop it up over the ribbon with Stampin’ Dimensionals.
6. Add the cut sentiment pieces with Mini Stampin’ Dimensionals
to the front of the card.
Thanks so much for stopping by today! I hope you have a WONDERFUL day and life goes smoothly! Come back this evening at 6:00pm (PST) for the Inspire, Create, Share blog hop! It will be lots of FUN!
Here's what's happening with Scrap Happens Here this month!
Please use this months Hostess Code!
(ONLY if your order is less than $150.00)
REMEMBER...use November's hostess code SZCYEYZP and place a minimum order of $50 (before tax and shipping) and you'll get goodies from me!! These will be mailed separately the first week of December!
You'll receive the following...
- One Darla Daisy for every $50 spent (before
tax &shipping ). When you have 10 Darla Daisies you can choose $40.00 of Stampin' Up! product(s) of your choice from me! Justemail me your choice! - The projects we make in my November classes! Here's what were making this month!
You'll also receive this months gift when you spend a minimum of $50 (before tax & shipping)!
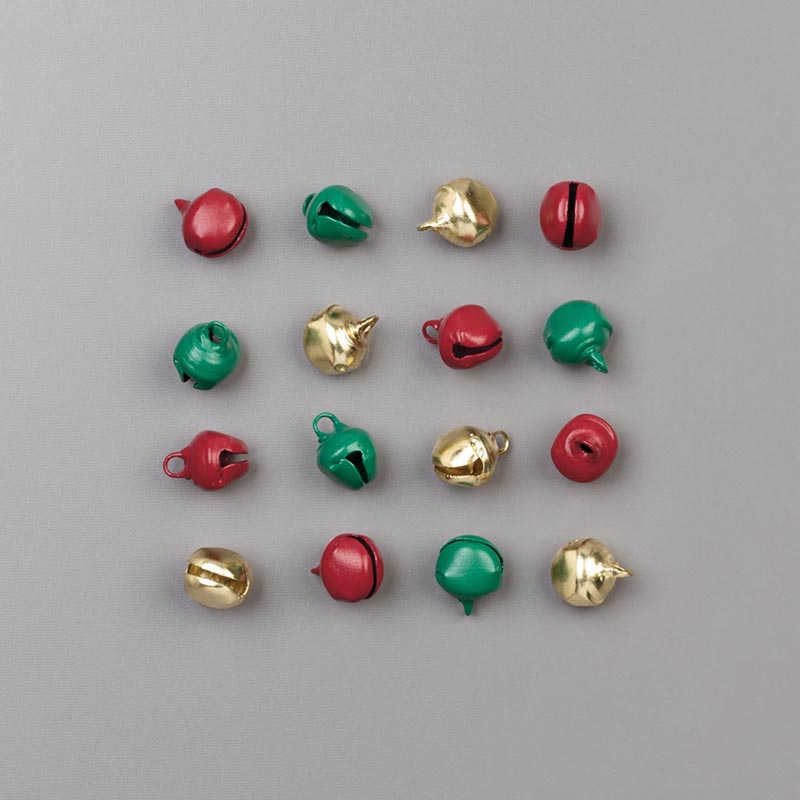
Jingle Bells
(an $5.00 value)
~Today's Thought~


No comments:
Post a Comment
Thank you for your comments....they are always such an encouragement!