Darla Daisies Loyalty Program & Tracking Form

Darla Hutt-Watson

My photo
Weaverville, CA, United States
Hi there! I'm Darla and I live in BEAUTIFUL Northern California! I am a mother of seven terrific kids and have been married to my husband for 36 years. I have been a Stampin' Up Demonstrator since 2010 and love ALL THINGS paper crafting. I also have a scrapbooking retreat business called Scrap Happens Retreats. I love teaching and learning new techniques, sharing ideas, hosting my retreats, being a wife and a mom. Hiking, bicycling, gardening and cooking are a few of my other hobbies. I'm living for Jesus and LOVIN' LIFE!!
Showing posts with label Christmas card. Show all posts

Tuesday, December 10, 2019

Tuesday's Tip - Creating with the Magnolia Lane Cards & Envelopes

Good Morning everyone!  It's that day of the week!


Here's a still photo of the card!  I LOVE IT!

Using the Snowman Season and Merry Moose stamp sets, heat emboss the tree and sentiment with VersaMark and White embossing powder.  Use your Stamparatus to stamp several is just the right spot!

For the inside of your card cut a 3 1/2" x 5 1/2" piece of Whisper White cardstock!  You'll have a place to write a little note to you're loved ones!

Hey...THANKS BUNCHES for stopping by today!  Have a terrific rest of your day!  Join me tomorrow for Week Eleven of my 12 Weeks of Stampin' Up! Christmas projects!


DON'T FORGET ABOUT FREE SHIPPING!!
TOMORROW ONLY!!!

order must be started and closed 
12/11  12:01am (MT) - 11:59pm (MT)

Here's what else you'll get with a $50 order 
(before tax & shipping)

Use December's Hostess Code!

Please use this months Hostess Code!
(ONLY if your order is less than $150.00)

REMEMBER...use December's hostess code 
96BQ2Y4K 
and place a minimum order of $50 (before tax and shipping) and you'll get goodies from me!! These will be mailed separately the first week of January! 

You'll receive the following...
  • One Darla Daisy for every $50 spent (before taxshipping).  When you have 10 Darla Daisies you can choose $40.00 of Stampin' Up! product(s) of your choice from me! Just email me your choice!
  • The projects we make in my December classes!  Here's what were making this month! 

You'll also receive this months gift when you spend a minimum of $50  (before tax & shipping)!

    Snowfall Accent Puff Paint
    (a $4.50 value)

    ~Today's Thought~
    Its the most wonderful time of the year Svg Christmas Svg | Etsy


Wednesday, November 6, 2019

12 Weeks of Stampin' Up! Christmas - Snowman Season...Week Six

Good Morning everyone!  Hope  you are all well!  I was a bit off my game yesterday...going a million directions!  Things have calmed down today...thankfully and I'm here to share this weeks 12 Weeks of Stampin' Up! Christmas project with you!  ENJOY! 


Snowman Season
All images © 1990-2019 Stampin’ Up!®

Supplies:
·         Stamp SetSnowman Season (150458); Bundle with Snowman Punch (152337)
·         Card Stock – Thick Whisper White (140272); Whisper White (100730); Cherry Cobbler (119685)
·         Stamp Pads – Memento Tuxedo Black (132708)
·         Misc. – Stampin’ Blends Pool Party Combo (144605); Stampin’ Blends Light Smoky Slate (145054); Stampin’ Blends Light Pumpkin Pie (144578); Let It Snow Specialty Designer Series Paper (150393); Diagonal Stripe Ribbon in Cherry Cobbler (150439); Winter Knit 3D Embossing Folder (150645); Starburst Punch (143717); 2” Circle Punch (133782); Stampin’ Dimensionals (104430); Mini Stampin’ Dimensionals (144108); Snail Adhesive (104332); Mini Glue Dots (103683); Paper Snips (103579); Embossing/Die Cutting Machine
Measurements
·         Thick Whisper White Cardstock: 5 ½” x 8 ½” scored at 4 ¼”
·         Whisper White Cardstock: 4” x 2 ½” for sentiment and 2” circle punch
·         Cherry Cobbler Cardstock: 5 ¼” x 4”
·         Let It Snow Specialty Designer Series Paper: 2” x 4” for banner and a scrap piece approx. 2 ½” for starburst punch
           
Instructions:
1.    Emboss the Cherry Cobbler layer with the Winter Knit embossing folder and add it to the front of the thick Whisper White Card with snail adhesive.
2.    Cut a flag banner at the bottom of the 2” x 4” piece of Designer Paper with your paper snips and add it to the front of your card with snail adhesive.  
3.    Stamp the sentiment and snowman image on Whisper White cardstock using Memento Black Ink. Punch the snowman out with the 2” circle punch and cut the sentiment out with your paper snips. Color the snowman with Stampin’ Blends. I used the light Pumpkin Pie for his nose, light Pool Party for the snowman, and Smoky Slate for the snow and outline of the snowman. Then I used the light Pool Party to make dots of snow on the sentiment.
4.    Punch some Designer Paper using the Starburst Punch. The print I used is the backside of the snowman one shown on the banner.
5.    Make a faux bow with the Cherry Cobbler Ribbon and tack it down on the card front with Mini Glue Dots. (I don’t really tie a bow so that it’s not bulky) Attach the snowman image to your Starburst Punched shape with snail and pop it up over the ribbon with Stampin’ Dimensionals.  

6.    Add the cut sentiment pieces with Mini Stampin’ Dimensionals to the front of the card.


Thanks so much for stopping by today!  I hope you have a WONDERFUL day and life goes smoothly!  Come back this evening at 6:00pm (PST) for the Inspire, Create, Share blog hop!  It will be lots of FUN!

Here's what's happening with Scrap Happens Here this month!


Please use this months Hostess Code!
(ONLY if your order is less than $150.00)

REMEMBER...use November's hostess code SZCYEYZP and place a minimum order of $50 (before tax and shipping) and you'll get goodies from me!! These will be mailed separately the first week of December! 

You'll receive the following...

  • One Darla Daisy for every $50 spent (before taxshipping).  When you have 10 Darla Daisies you can choose $40.00 of Stampin' Up! product(s) of your choice from me! Just email me your choice!
  • The projects we make in my November classes!  Here's what were making this month! 

You'll also receive this months gift when you spend a minimum of $50  (before tax & shipping)!

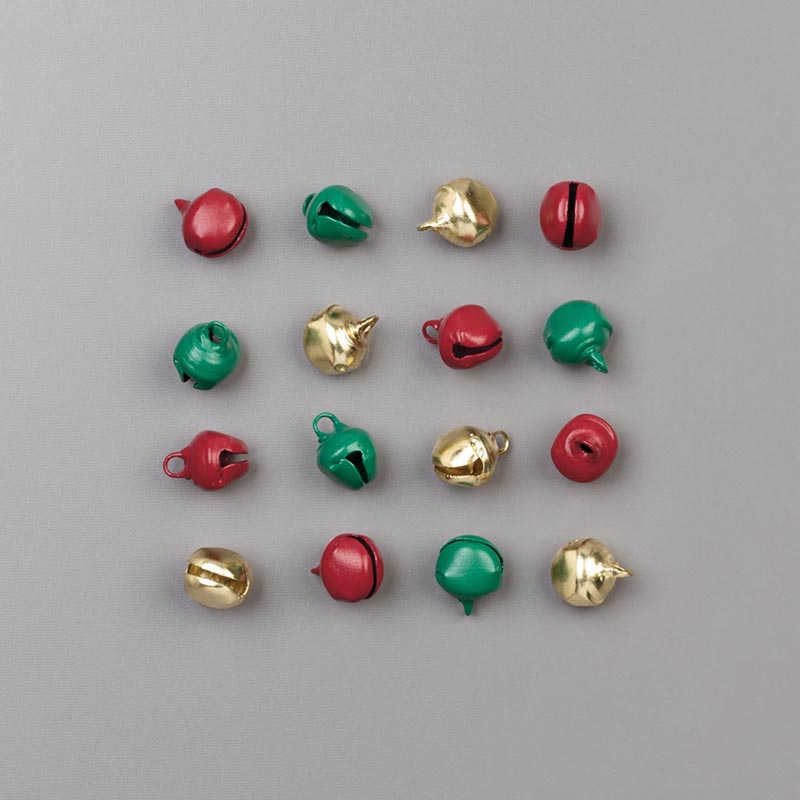
JINGLE BELLS
    Jingle Bells
    (an $5.00 value)
~Today's Thought~
Just say Yikes and move on  -33 encouragement quotes and words of encouragement to keep your chin up through tough times -ourmindfullife.com


Wednesday, October 30, 2019

12 Weeks of Stampin' Up! Christmas - Birds of a Feather...Week Five


Good Morning everyone!  Did you enjoy the Paper Pumpkin Possibilities Blog Hop last night?  There are sure some talented ladies out there!  Well...here we are...only 55 days until Christmas!  Here' Week Five's Project!  Hope this CUTE creation gives you INSPIRATION!

Birds of a Feather


All images © 1990-2019 Stampin’ Up!®

Supplies:
      Birds of a Feather stamp set - (150571)
      Cardstock – Crumb Cake (120953); Old Olive (100702); Very Vanilla (101650)
      Stamp Pads – Memento (132708)
      Misc. – Night before Christmas 6 x 6 DSP (150437); Stitched Shapes (145372); Red Basic Rhinestones (146924); 1 inch circle punch (119868); 1 1/8 Scallop Punch (146138); Stampin’ Dimensionals (104430); Multipurpose Liquid Glue (110755); SNAIL Adhesive (104332); Reversible Ribbon (149496); Snowfall Accents Puff Paint (150691); Heat Tool (129053); Mango Melody Blends Combo (147945); Crumb Cake Blends Combo (144601); Poppy Parade Blends Combo (147275)     
Measurements: 
      Crumb Cake Cardstock: 5 ½” x 4 ¼”
      Old Olive: 3 ¼ " x 4"
      Very Vanilla: scrap approx. 2 ¾” x 2 ¾”, 3 ½ x 8 ½,
      Night before Christmas Designer Series Paper: 3” x 3 ¾”
      Scrap of Poppy Parade about 1 ½ x 1 ½                                    
Instructions:
      Fold the Very Vanilla in half at 4 ¼.
      Attach the Old Olive and DSP together with liquid glue or snail adhesive, wrap with the ribbon tie in a knot.    
      Stamp the Bird on the larger scrap Very Vanilla cardstock and die cut with the largest Stitched Square and color with the Blends, use the puff paint on the Santa Hat and heat with Heat Tool, once cooled adhere on top of the DSP layer with desired adhesive.
      Adhere Bird Layer to the folded Very Vanilla piece with dimensionals, adhere this to the crumb cake piece.
      Stamp the sentiment and punch of with the 1-inch circle punch, cut out 1-1/8 scallop in the Poppy Parade and adhere them together. Use a dimensional to adhere as shown.
      Adhere red rhinestones as desired.

Isn't that a CUTE?? Thanks a BUNCH for stopping by today!  Have a GREAT day! 


Here's what's happening with Scrap Happens Here this month!


Please use this months Hostess Code!
(ONLY if your order is less than $150.00)

REMEMBER...use October's hostess code DWF62FMY and place a minimum order of $50 (before tax and shipping) and you'll get goodies from me!! These will be mailed separately the first week of November! 

You'll receive the following...
  • One Darla Daisy for every $50 spent (before taxshipping).  When you have 10 Darla Daisies you can choose $40.00 of Stampin' Up! product(s) of your choice from me! Just email me your choice!
  • The projects we make in my October classes!  Here's what were making this month! 

You'll also receive this months gift when you spend a minimum $50  (before tax & shipping)!

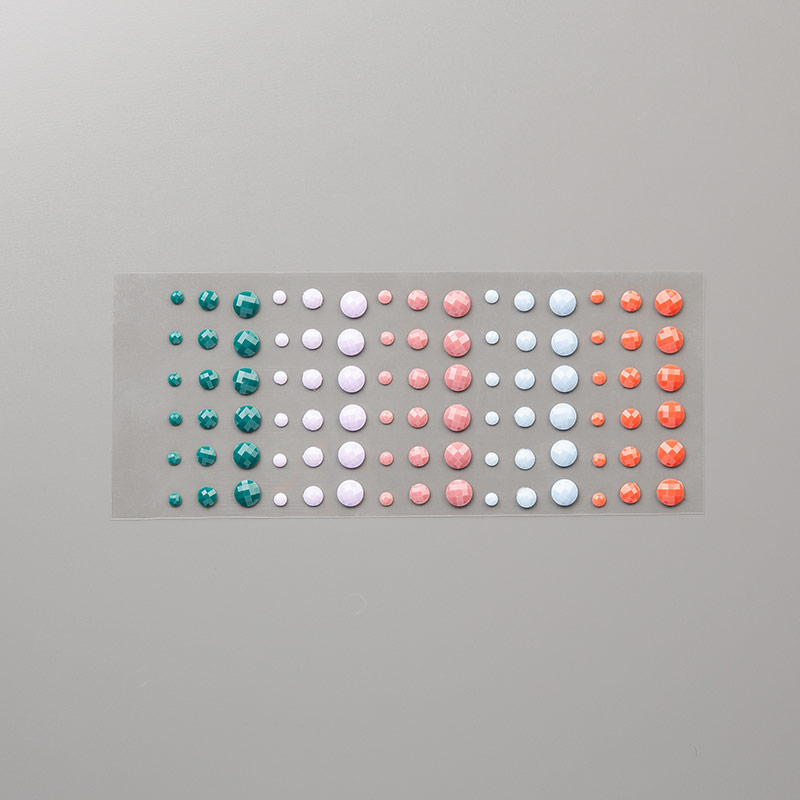
    2019-2021 IN COLOR FACETED DOTS
    In Color Faceted Dots
    (an $6.50 value)
~Today's Thought~
Trademark Global Janelle Nichol 'Contentment (earth theme)' Canvas Art - 19 x 14 x 2


Mojo Monday - Impressions Abloom Tutorials

Hello everyone!  Thanks for stopping by and HAPPY Monday!  How's your creative mojo today?  I've got so pretty inspiration for you.....