Hello everyone! It’s WEEK NINE of 12 Weeks of Christmas - Stampin’ Up!! I hope it gets you’re creative juices flowing!
Tags, Tags, Tags…
All images © 1990-2019 Stampin’ Up!®
Supplies:
• Stamp Sets – Tags, Tags, Tags Bundle (153042)
• Card Stock – Whisper White (100730)
• Stamp Pads – Versa Mark (102283)
• Misc. –Gold Stampin’ Emboss Powder (107129); Gold Glimmer Paper (146958); Whisper White Bakers Twine (124262); Wrapped In Plaid Designer Series Paper (149596); Cherry Cobbler and Shaded Spruce Stampin’ Markers (147155 - This is for the full set of Regals Stampin’ Write Markers); Take Your Pick Tool (144107); Heat Tool (129053); Embossing Buddy (103083); Multipurpose Liquid Glue (110755); Die Cutting Machine
Measurements:
• Whisper White Cardstock: approx. 3” x 5” (These measurements don’t matter if you are making a bunch of tags)
• Gold Glimmer Paper: Scrap for snowflakes (Die measures 1 ½” x ¾” and cuts 2 snowflakes)
• Wrapped in Plaid Designer Series Paper: 1 ¼” x 2 ½” of various patterns
Instructions :
1. Use your Embossing Buddy on the piece of Whisper White cardstock and then stamp the Christmas trio of stamps using Versa Mark ink.
2. Sprinkle Gold Stampin’ Emboss Powder on the image, tap off excess then heat emboss with your Heat Tool.
3. Die cut using the Trio of Tags Die.
4. Die cut the snowflakes using the die for the desired number of snowflakes you need for your tags. Assuming you are making a bunch for gifts. HERE’S A TRICK: Getting a good cut using the Gold Glimmer Paper can be tricky in your die cutting machine. Try putting the Glimmer Paper face down and use the die on the back and it should cut through very nice. I also peeled the backing off the Glimmer Paper after die cutting to make adhering to my tags easier.
5. Dress up your tags: Add a snowflake to the center of the Season’s Greetings tag with liquid glue, color the elf tag with Cherry Cobbler and Shaded Spruce markers, and color the birds with Cherry Cobbler marker on the Merry tag.
6. Each tag is layered on top of a 1 ¼” x 2 ½” piece of designer paper. I used the Take Your Pick Tool to pierce a hole in the designer paper to match the hole in the tag then I threaded the baker’s twine through with my Take Your Pick Tool as well.
7. I flagged the designer paper on two of the tags at one end and both ends on the last one. The tags are not glued to the designer paper. They are only held on with the baker’s twine and move freely back and forth.
8. I also added a Gold Glimmer snowflake to two of the tags on the designer paper as shown under the tags. When they move back and forth you can see the snowflake peeking through.
Thanks for stopping by! Have a GREAT rest of your day!!!
Here's what's happening with Scrap Happens Here this month! THANKS so much for stopping by! ENJOY the rest of your day!
Please use this months Hostess Code!
(ONLY if your order is less than $150.00)
REMEMBER...use November's hostess code SZCYEYZP and place a minimum order of $50 (before tax and shipping) and you'll get goodies from me!! These will be mailed separately the first week of December!
You'll receive the following...
- One Darla Daisy for every $50 spent (before
tax &shipping ). When you have 10 Darla Daisies you can choose $40.00 of Stampin' Up! product(s) of your choice from me! Justemail me your choice! - The projects we make in my November classes! Here's what were making this month!
You'll also receive this months gift when you spend a minimum of $50 (before tax & shipping)!
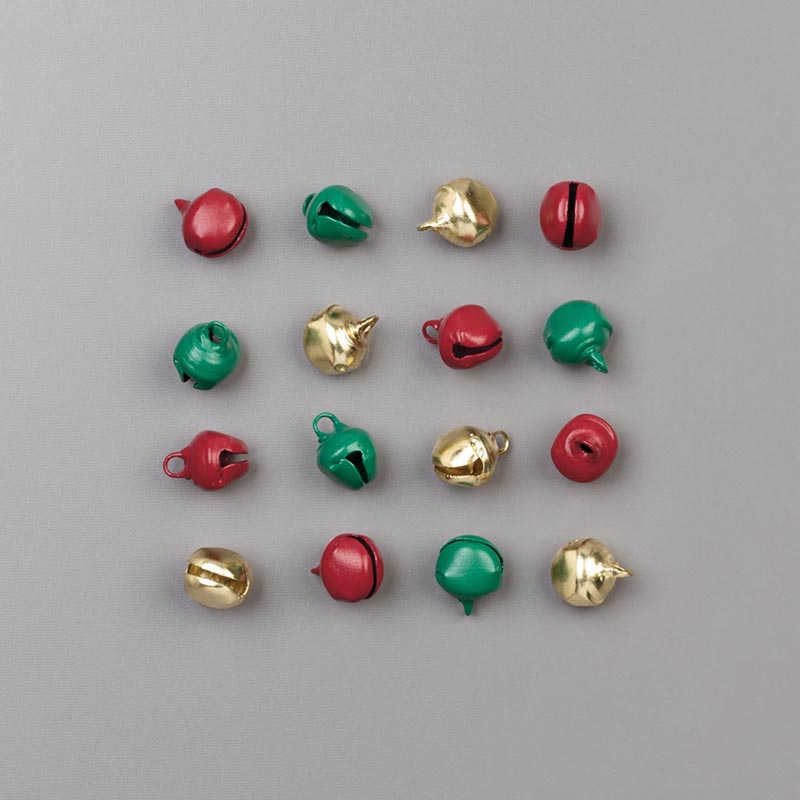
Jingle Bells
(an $5.00 value)
~Today's Thought~


No comments:
Post a Comment
Thank you for your comments....they are always such an encouragement!