Hello everyone! I'm super late posting today. Sorry...no Tuesday's Tip video, my three oldest sons and one of my daughters were here for a visit today! I so enjoyed having them here! I'm gonna use this time to get caught up on my 12 Weeks of Christmas projects. I'm working with some teammates on twelve different projects to share with you all. I should have started last week, but I forgot so I'm going to post one tonight and one tomorrow and then I will share them each Wednesday until Christmas! I hope you'll continue to join me and be INSPIRED! I'll be back next Tuesday with another video!!!
Everything Festive
All
images © 1990-2019 Stampin’ Up!®
Supplies:
· Stamp Sets-
Everything Festive (150566)
·
Cardstock – Mossy Meadow (133676); Very
Vanilla (101650)
·
Stamp Pads – Mossy Meadow (147111)
·
Misc. – Brightly Gleaming
Specialty Designer Paper (150429); Stitched Nested Labels (149638); Copper Foil
Paper (142020); Star Designer Elements (150430); Stampin’ Dimensionals (104430);
Multipurpose Liquid Glue (110755); SNAIL Adhesive (104332)
Measurements:
·
Mossy Meadow Cardstock: 8 ½” x 5 ½” and scrap approx. 4” x 2 ¼”
·
Very Vanilla Cardstock: scrap approx. 3 ½” x 2 ½”
·
Copper Foil Paper: 5 ¼” x 4”
·
Brightly Gleaming Specialty Designer Paper: 4 ½” x 4”
Instructions:
1. Fold the Mossy Meadow card
base in half and attach the Copper Foil Paper to the front of the card with
liquid glue or snail adhesive.
2. Take the Brightly Gleaming
Designer Paper and cut 4 strips on the long side (4 ½” side). Cut these strips
in order so the pattern is continuous. First cut is 1 ½”, second cut is 1 ¼”,
third cut is 1”, and last cut is ¾”.
3. Lay these strips over the
Copper Foil so there is an even space between them and the ends, about an 1/8”.
Glue them in place- I like the liquid glue for this step.
4. Stamp the sentiment on
Very Vanilla and die cut with Stitched Nested Labels. Also, die cut a layering
label with the dies in Mossy Meadow Cardstock.
5. Glue the two labels
together and add Stampin’ Dimensionals to the back and attach to card front.
6. Lastly, add three Star Designer Elements to the sentiment.
Here are a few alternative to try with the same designer paper and sketch!
HEY...THANKS BUNCHES for stopping by today! Hope you'll join me again tomorrow for Week Two of 12 Weeks of Christmas!
Here's what's happening this week at Scrap Happens Here!
Please use this months Hostess Code!
(ONLY if your order is less than $150.00)
REMEMBER...use October's hostess code DWF62FMY and place a minimum order of $50 (before tax and shipping) and you'll get goodies from me!! These will be mailed separately the first week of November!
You'll receive the following...
- One Darla Daisy for every $50 spent (before
tax &shipping ). When you have 10 Darla Daisies you can choose $40.00 of Stampin' Up! product(s) of your choice from me! Justemail me your choice! - The projects we make in my October classes! Here's what were making this month!
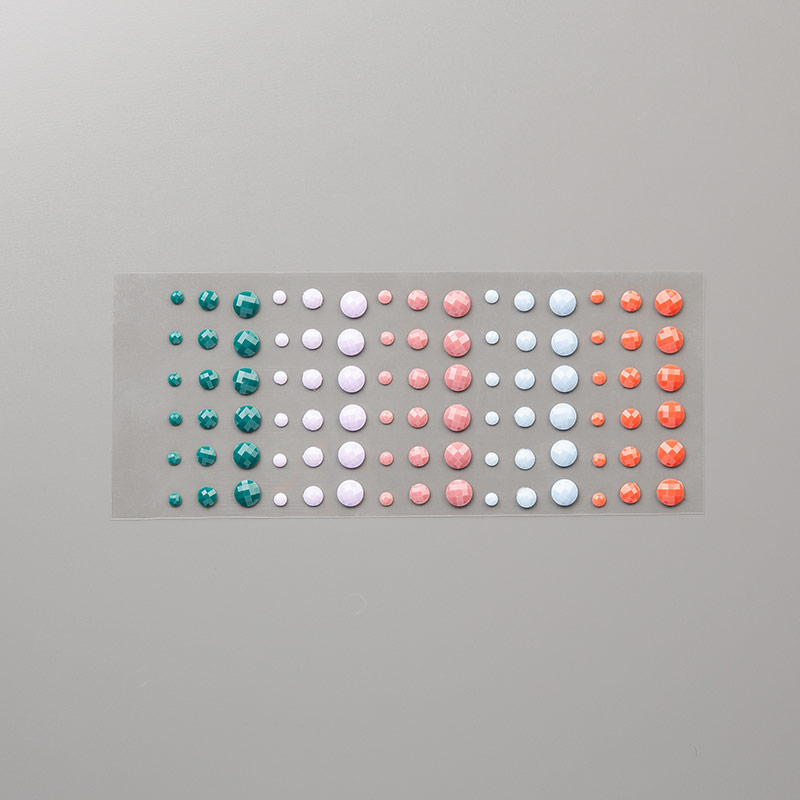
You'll also receive this months gift when you spend a minimum $50 (before tax & shipping)!

In Color Faceted Dots
(an $6.50 value)


No comments:
Post a Comment
Thank you for your comments....they are always such an encouragement!