Hello Everyone! Thank you for joining me for this weeks 12 Weeks of Stampin' Up! Christmas project! Have you made your advent calendar yet? Here's a SUPER CUTE one!

Christmas Countdown
All
images © 1990-2019 Stampin’ Up!®
Supplies:
·
Christmas
Countdown Project Kit (150703)
·
Cardstock
– Real Red (102482) Garden Green (102584)
·
Designer
Paper – Toile Tiding (150432)
·
Tools – 1 1/8”
Scallop Circle Punch (146138); Pine Tree Punch (149521); 1” Circle Punch
(119868) Subtle Embossing Folder (151775)
·
Embellishments
– Linen Thread (104199); Real Red 1” Ruched Ribbon (150435): Jingle
Bells (149598)
·
Misc - Multipurpose Glue (110755); Snail Adhesive
(104332); Dimensionals (104430); Take Your Pick (144107) or small hole punch;
Tear & Tape Adhesive (138995)
Measurements:
·
Designer Paper: 1 7/8” x 1
7/8” (Cut 25 - one for each box)
·
Designer Paper: 1 7/8” x 10
7/8” (Cut 4 – one for each side)
·
Designer Paper: 10 7/8” x
10 7/8” (Cut 1 – for back)
Instructions:
1.
Using one of the squares provided in the kit as
a guide, use your 1” Circle Punch to punch a tab in all 25 of your 1 7/8”
pieces of Toile Tiding designer paper.
2.
Using Multipurpose Glue attach each square to
each individual box, aligning with tab.
3.
Using Multipurpose Glue attach 1 7/8” x 10
7/8” designer paper strips to sides and 10 7/8” x 10 7/8” square designer paper
to back of the project box.
4.
Punch 25 scallop circles from Real Red
cardstock and attach numbers provided in the kit with snail adhesive.
5.
Poke holes in the top of each number with
Take Your Pick tool or small hole punch and tie a Jingle Bell to each one with
Linen Thread.
6.
Punch one Pine Tree from Garden Green
cardstock embossing it with the Subtle Embossing Folder and attach it to the
last box with dimensionals
7.
Attach numbers to individual small boxes with
dimensionals.
8.
Wrap Tear & Tape around all four sides of
the box and attach Real Red Ruched Ribbon tying a bow at the top. Use several
strands of Linen Thread to tie a bow around the Real Red bow.
9. Fill each
box with a treat and HAVE FUN counting down to Christmas day!
Thanks BUNCHES for stopping by today! Have a FANTASTIC rest of your day! I hope you'll join me again tomorrow!
Here's what's happening with Scrap Happens Here this month!
Please use this months Hostess Code!
(ONLY if your order is less than $150.00)
REMEMBER...use October's hostess code DWF62FMY and place a minimum order of $50 (before tax and shipping) and you'll get goodies from me!! These will be mailed separately the first week of November!
You'll receive the following...
- One Darla Daisy for every $50 spent (before
tax &shipping ). When you have 10 Darla Daisies you can choose $40.00 of Stampin' Up! product(s) of your choice from me! Justemail me your choice! - The projects we make in my October classes! Here's what were making this month!
You'll also receive this months gift when you spend a minimum $50 (before tax & shipping)!

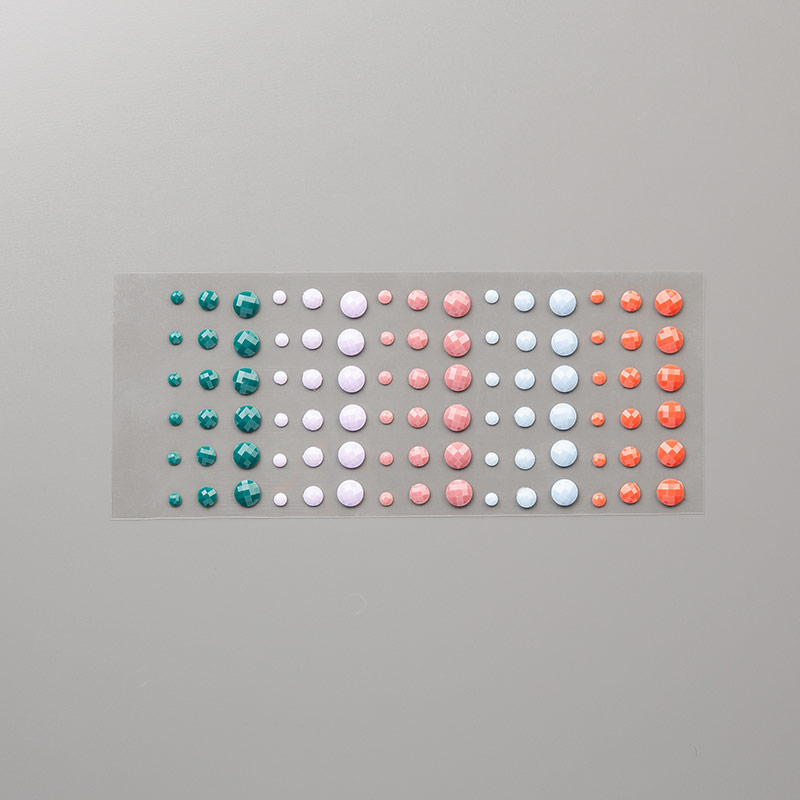
In Color Faceted Dots
(an $6.50 value)
~Today's Thought~


No comments:
Post a Comment
Thank you for your comments....they are always such an encouragement!