Good Morning and HAPPY Monday! I hope you had a terrific weekend. It was hot here...almost made it to 100! I'm not a fan of 100 and over...90's I can do! The wonderful thing about Weaverville is that is almost ALWAYS cools off into the high 50's to low 60's...except when it's over 100!
Well..it's Monday and that means it's time to be INSPIRED by another "Make-It Monday" creation! ENJOY!
"Make-It Monday"- Bloom & Grow
card created using NEW Stampin' Up! products
All images © 1990-2019 Stampin’ Up!®
Supplies:
Stamp Sets: Bloom & Grow (149229)
Ink: Terracotta Tile (150086)
Cardstock: Terracotta Tile (150884), Very Vanilla (101650)
Miscellaneous: Mosaic Mood Specialty Designer Series Paper – DSP (149478), Die-Cutting Machine (143263), Very Vanilla Scalloped Lace Trim (149593), Multipurpose Liquid Glue (110755), Bird Ballad Laser-Cut Cards & Tin (149595), Mini Stampin’ Dimensionals (144108), SNAIL Adhesive (104332)
Measurements:
- Terracotta Tile: 5 ¼” x 4”
- Very Vanilla: 4 ½” x ¼” – for banner
- Lace Trim: 12”
Instructions:
- Adhere Terracotta Tile piece to inside of laser-cut card using Liquid Glue. TIP: use small dots of glue all around the inside of laser-cut piece and then carefully lay down solid piece. Turn over and smooth with side of your hand to make sure it is adhered well.
- Using Terracotta Tile ink stamp “forever starts today” and then flag each end to make a banner piece.
- Adhere banner piece to card.
- Tie Lace Trim around top layer of card and tie a bow on right-hand side. The top of the trim will be right under the stamped sentiment.
- Carefully cut out two hummingbirds from DSP. You will want one with beak facing to the right and one with beak facing to the left.
- Adhere right facing bird to card using SNAIL. Adhere left facing bird to card using Mini Stampin’ Dimensionals. Position so the beaks on both birds touch.
Remember, you do not have to invent the wheel to be creative, just copy this project! Did you make it with your own hands? Then you have created!
Here's a reminder of all that's happening this month!
DON'T FORGET TO USE YOUR BONUS CODES!!
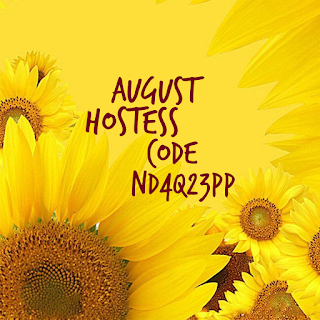
REMEMBER...use August's hostess code ND4Q23PP and place a minimum order of $50 (before tax and shipping)
and you will also receive a FREE from me!
Please use this months Hostess Code!
(only if your order is less than $150.00)
You'll also receive the following...
- One Darla Daisy for every $50 spent (before tax& shipping). When you have 10 Darla Daisies you can choose $40.00 of Stampin' Up! product(s) of your choice from me! Just email me your choice!
- The projects we make in my August classes! Here's what were making this month!
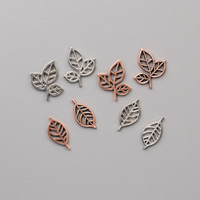
You'll also receive this months gift when you spend a minimum $50 (before tax & shipping) Just in time for FALL!!
~Today's Thought~
|
|


No comments:
Post a Comment
Thank you for your comments....they are always such an encouragement!