Darla Daisies Loyalty Program & Tracking Form

Darla Hutt-Watson

My photo
Weaverville, CA, United States
Hi there! I'm Darla and I live in BEAUTIFUL Northern California! I am a mother of seven terrific kids and have been married to my husband for 36 years. I have been a Stampin' Up Demonstrator since 2010 and love ALL THINGS paper crafting. I also have a scrapbooking retreat business called Scrap Happens Retreats. I love teaching and learning new techniques, sharing ideas, hosting my retreats, being a wife and a mom. Hiking, bicycling, gardening and cooking are a few of my other hobbies. I'm living for Jesus and LOVIN' LIFE!!
Showing posts with label Bells Are Ringing. Show all posts

Wednesday, December 4, 2019

12 Weeks of Stampin' Up! Christmas - Bells are Ringing ... Week Ten

Good Morning and WELCOME to Wednesday and my blog!  It's time for another 12 Weeks of Stampin' Up! Christmas project!  Can you believe it's already week 10?  YIKES...I haven't made my cards OR started shopping!  I better get busy!

Bells are Ringing
All images © 1990-2019 Stampin’ Up!®


Supplies:
      Bells are Ringing Bundle- (153024)
      Cardstock – Real Red (102482); Whisper White (100730); Shaded Spruce (146981); Gold Foil (132622)
      Stamp Pads – Memento (132708)
      Misc. – Merry Christmas dies (147912); Beautiful Boughs dies (150661); Holiday Rhinestone Basic Jewels (150457); Winter Knit 3D Embossing Folder (150645); Stampin’ Dimensionals (104430); Multipurpose Liquid Glue (110755); SNAIL Adhesive (104332); Shaded Spruce/Gold Striped Ribbon (149597)
Measurements: 
      Real Red Cardstock: 5 ½” x 8 ½” and scrap
      Whisper White: 5 ¼ " x 4"
      Scrap of Shaded Spruce              
Instructions:
      Fold the Real Red in half at 4 ¼.
      Run the whisper white cardstock thru your embossing machine with the Winter Knit 3D embossing folder. Wrap with ribbon around the middle and tie in knot. Adhere to real red base with Dimensionals or your favorite adhesive.
      Run the Bell thru die cutting machine with real red and the top layer with the gold foil adhere together with liquid glue. Run the real red again with the Happy Holidays, Run the shaded spruce piece with the bough die. Adhere all to the whisper white layer as shown.
      On another scrap of Real Red and stamp the ribbon with the Memento and cut out with the coordinating die.
      Adhere the paper ribbon to the top of the bell and put a yellow rhinestone on top of the ribbon.
      Take a small piece of gold foil and run that thru the die cutting machine with one of the bell dies that has the 3 stars on it. That is where you will get the stars to adhere to your card.

Thank you so much for stopping by today!  I'm part of a blog hop tonight at 6:00pm PST...I hope you come back for MORE INSPIRATIONS!!

Here's what's happening with Scrap Happens Here this month!  


Please use this months Hostess Code!
(ONLY if your order is less than $150.00)

REMEMBER...use December's hostess code 
96BQ2Y4K 
and place a minimum order of $50 (before tax and shipping) and you'll get goodies from me!! These will be mailed separately the first week of January! 

You'll receive the following...
  • One Darla Daisy for every $50 spent (before taxshipping).  When you have 10 Darla Daisies you can choose $40.00 of Stampin' Up! product(s) of your choice from me! Just email me your choice!
  • The projects we make in my December classes!  Here's what were making this month! 

You'll also receive this months gift when you spend a minimum of $50  (before tax & shipping)!

    Snowfall Accent Puff Paint
    (a $4.50 value)

    ~Today's Thought~
    Ann Voskamp Christmas Quotes | Ultimately, I land on Make Room for me and Born is the King for my ...

Monday, November 25, 2019

"Make-It Monday" - Bells Are Ringing

Hello Everyone!! Golly...it's been a busy day!  I taught my daughter how to make cinnamon rolls, kid sat the neighbors kid and ran a bunch of errands! I hope your day was productive and fun!

I have a BEAUTIFUL card to share with you today for "Make-It Monday"!

 "Make-It Monday" Bells Are Ringing 
All images © 1990-2019 Stampin’ Up!®


Supplies:
·         Stamp Sets: Bells Are Ringing Bundle (153024) *stamp and die in the bundle
·         Cardstock: Whisper White (100730), Real Red (102482), Shimmery White (101910), Vellum (101856), Gold Foil-Edged Cards & Envelopes (147901), Real Red Glimmer Paper (150427), Gold Foil Sheets (132622)
·         Ink: Real Red (147084)
·         Tools & Accessories: 2-1/4" Circle Punch (143720), 2" Circle Punch (133782), Holiday Rhinestone Basic Jewels (150457), Most Wonderful Time Product Medley (150705), Tin Tile 3D Embossing Folder (151801), Mini Glue Dots (1036830, Cherry Cobbler Light Stampin' Blends Marker (144576)
·         Misc: Die Cutting Machine
           
Measurements:  
·         Card Base: Gold Foil-Edged Card
·         Cardstock #2: Real Red Glimmer 5¼ x 4
·         Cardstock #3: Gold Foil Sheet 5 x 3¾, *2 x 3 for bells
·         Cardstock #4: Shimmery White 2¼ x 2½
·         Cardstock #5: Vellum 2¼ x 2
·         Cardstock #6: Real Red 5¼ x 4
·         Cardstock #7: Whisper White 5 x 3¾                  
           

Instructions:
·         Punch out a 2” and a 2¼ circle in the center of the Real Red Glimmer paper. Make sure to leave ¼ space on all sides. This piece will be used for layer.
·         Using the Tin Tile 3D embossing folder, emboss the 5 x 3¾ Gold Foil piece.
·         Adhere to the Real Red Glimmer paper piece. The one that you punched out the 2 circles.
·         Adhere the 2¼ real red glimmer circle into the embossed gold foil.
·         Cut the 2” circle real red glimmer into 4.
·         Adhere ¼ of the circle at each corner of the gold foil embossed.
·         Adhere onto the card base.
·         Die cut: the large detail bell out of the Shimmery White cardstock, full medium bell out of Vellum, round detail bell and medium detail bell out of gold foil.
·         Using the light Cherry Cobbler stamping blends color the back of the vellum bell. Adhere the medium detail gold bell into the front of the vellum bell.
·         Using glue dots adhere the bells onto the red glimmer circle. *keep the small round bell for inside of the card.
·         Make a bow out of the tassel from Most Wonderful Time Product Medley and adhere at the top of the bells.
·         Adhere the gold Rhinestones from the Holiday Rhinestones at the bottom of the bells.
·         Stamp the greeting using Real Red ink onto the 5 x 3¾ Whisper White.
·         Adhere to the Real Read cardstock, then inside the card base.
·         Adhere the round detail gold bell inside top left and adhere a little piece of tassel.

Hey...that's it for today (tonight)!  Thanks a bunch for stopping by!
Here's what's happening with Scrap Happens Here this month!  THANKS so much for stopping by!  ENJOY the rest of your day!

Please use this months Hostess Code!
(ONLY if your order is less than $150.00)

REMEMBER...use November's hostess code SZCYEYZP and place a minimum order of $50 (before tax and shipping) and you'll get goodies from me!! These will be mailed separately the first week of December! 

You'll receive the following...
  • One Darla Daisy for every $50 spent (before taxshipping).  When you have 10 Darla Daisies you can choose $40.00 of Stampin' Up! product(s) of your choice from me! Just email me your choice!
  • The projects we make in my November classes!  Here's what were making this month! 

You'll also receive this months gift when you spend a minimum of $50  (before tax & shipping)!

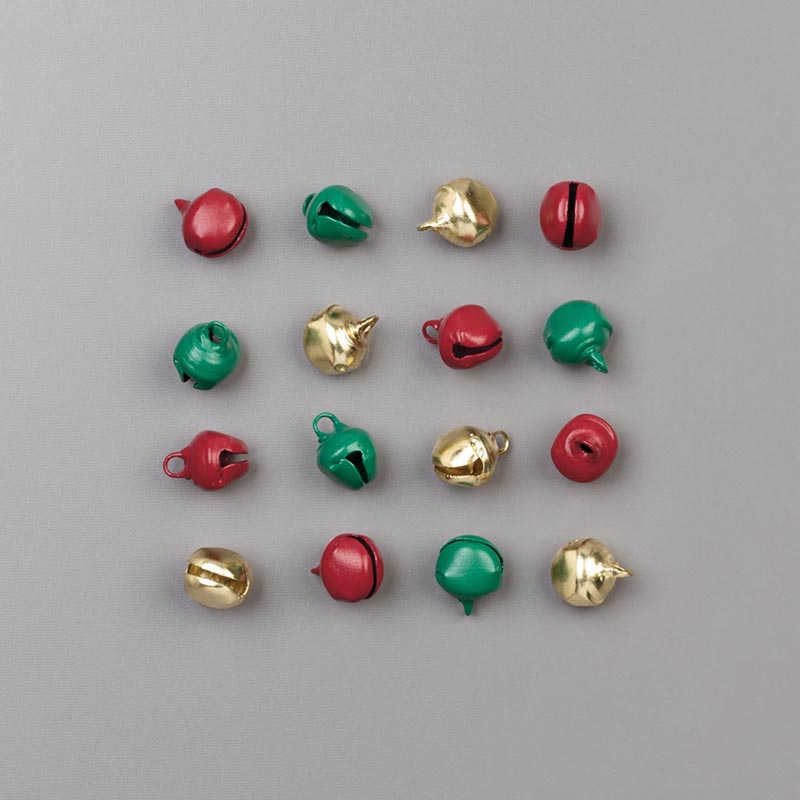
JINGLE BELLS
    Jingle Bells
    (an $5.00 value)
~Today's Thought~
35 Best Gratitude Quotes To Share When You're Feeling Thankful


Mojo Monday -

Hello and HAPPY MONDAY! Thanks, BUNCHES for stopping by today!  I hope you had a TERRIFIC weekend and found some time to create!  I'm he...