Darla Daisies Loyalty Program & Tracking Form

Darla Hutt-Watson

My photo
Weaverville, CA, United States
Hi there! I'm Darla and I live in BEAUTIFUL Northern California! I am a mother of seven terrific kids and have been married to my husband for 32 years. I have been a Stampin' Up Demonstrator since 2010 and love ALL THINGS paper crafting. I also have a scrapbooking retreat business called Scrap Happens Retreats. I love teaching and learning new techniques, sharing ideas, hosting my retreats, being a wife and a mom. Hiking, bicycling, gardening and cooking are a few of my other hobbies. I'm living for Jesus and LOVIN' LIFE!!

Monday, March 5, 2018

"Make-It Monday" A Mother's Flair

Hello everyone! Here we are Monday again! Our weekend sure did go by FAST!  I'm watching one of my FAVORITE three year old fellas today so I'm just now getting a minute to blog (while he eats a peanut butter and jelly sandwich)!  What a PRECIOUS little guy he is!  

It's time for "Make-It Monday" and I LOVE this card...especially the colors! I hope your are INSPIRED!!!


"Make-It Monday": A Mother's Flair card created with Stampin' Up! products
All images © 1990-2018 Stampin’ Up!® 

Supplies:
  • Stamp set – A Mother’s Flair (145902-wood; 145905-clear)
  • Card Stock – Basic Black (121045), Whisper White (100730), Berry Burst (144243)
  • Ink – Archival Stampin' Ink Basic Black (140931)
  • Miscellaneous – Stampin' Blends: Light Rich Razzleberry (144584), Light Old Olive (144574),  Berry Burst ½” Finely Woven Ribbon (144133), Layering Ovals Framelits (141706), Stampin' Dimensionals (104430), Petal Passion Designer Series Paper (145589)
      
Measurements:  

  • Basic Black:  4 ¼” x 11" and  3 ¾” x 5”   
  • Designer Series Paper:  2 ½” x 3 ¾”  
  • Berry Burst:  2 ½” x 3 ½”                      
  • Whisper White:  4” x 5 ¼” for inside and 2” x 3” for oval  
             
Instructions:
  1. Stamp the shoe in Archival Black onto white oval. Color flower and stem with Stampin'  Blends.
  2. Attach Whisper White oval to Berry Burst oval.
  3. Attach the DSP to the Basic Black mat and add a strip of Berry Burst ribbon and tape to the back of mat. Tie bow and add with a glue dot to the front of the card.
  4. Attach the completed mat to the black card base using Dimensionals.
  5. Add finished scallop layer and image to the right side of the card using Dimensionals.
Remember, you do not have to invent the wheel to be creative, just copy this project! Did you make it with your own hands? Then you have created!

Order any of these supplies by clicking on any image in this email or by linking to my 
ONLINE STORE.
A Mother's Flair stamp set. Link on this image to go directly to it in my online store.
  REMEMBER....use hostess code HBK2VHWU and place a minimum $50 order (before tax and shipping) is...and receive the gift pictured below FREE!


Hearts & Stars Elements
(a $6.00 value)
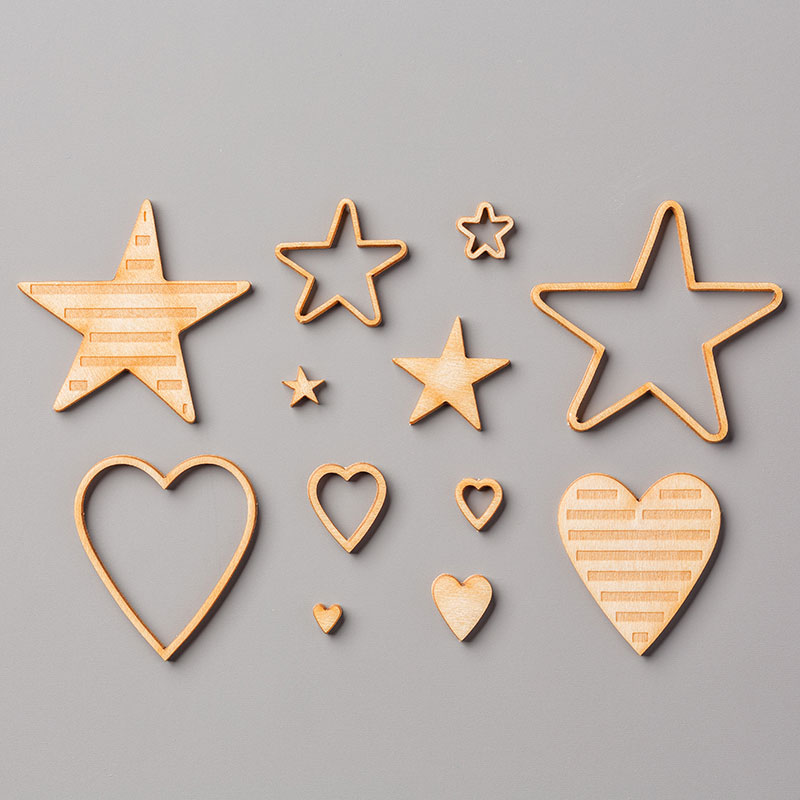
Hearts & Stars Elements

You'll also receive the following...

  • FREE Sale-A-Bration items for every $50 spent (before tax & shipping) 
  • Get a Darla Daisy for every $50 spent (before tax & shipping)
  • The projects we make in my March classes!

If your order is $150 or more, DO NOT use the code because you will receive hostess credits. You will get the gift from me FREE automatically along with  the projects we make in January's classes!


Your FREE gifts will be shipped separately and will be shipped by the 1st week in April or before.

~Today's Thought~

No comments:

Post a Comment

Thank you for your comments....they are always such an encouragement!

3D Thursday - Spooky Humble Home

Good morning everyone!  It's gonna be a beautiful day!  I'm heading down the mountain with my daughter-in-law for  a women's ret...