"Make-It Monday": PAINTED SEASONS card created with Stampin' Up! products
All images © 1990-2019 Stampin’ Up!®
The Painted Seasons bundle has a *Distinktive stamp set and Designer Series Paper. It can only be earned as a Sale-A-Bration item now through March 31.
*Distinktive is a newish line of stamp sets Stampin' Up! is patenting. They are stamps created from photographs. Very detailed and full of depth. The pinecones, in my card, are Distinktive images.
Supplies:
- Stamp sets: Painted Seasons (bundled with Painted Seasons Designer Series Paper and available free with a $100 order by March 31 - 150349); Painted Seasons Designer Series Paper only (available free with a $50 order by March 31 - 149574); Part of My Story (available free with a $50 order by March 31 – 149719); Crackle Paint (148752)
- Cardstock & Paper: Early Espresso (119686), Crumb Cake (120953), Shimmery White (101910), Painted Seasons Designer Series Paper (see above – available free in a bundle)
- Ink: Classic Stampin’ Pad Early Espresso (147114) and Crumb Cake (147116)
- Miscellaneous: Big Shot Die-Cutting Machine (143263), Four Seasons Framelits Dies (available March 2019 only – 150074), Pretty Label Punch (143715), 3/8” Classic Weave Ribbon Crumb Cake (144162), Share What You Love Artisan Pearls (146927), Mini Glue Dots (103683), Stampin’ Dimensionals (104430), SNAIL Adhesive (104332), Paper Snips (103579)
Measurements:
- Crumb Cake card base: 4-1/4” x 11”, scored at 5-1/2” then folded in half; 2” x 3”
- Early Espresso: 3-3/4” x 5”, 2” x 3”
- Designer Series Paper: 3-1/2” x 4-3/4”
- Shimmery White: three scraps each 1-1/2” x 2”
- Ribbon: 7” and 2-1/2”
Instructions:
- Stamp Crackle Paint on card base with Crumb Cake ink.
- Adhere Designer Series Paper to Early Espresso layer with SNAIL Adhesive.
- Using SNAIL horizontally across Designer Series Paper piece about 1-1/2” from bottom then press ribbon into it and wrap around back and affix ends with SNAIL.
- Stamp one pinecone in Crumb Cake and two in Early Espresso on Shimmery White card stock then die cut with pinecone die using Big Shot.
- Stamp sentiment from Part of My Story in Early Espresso onto Crumb Cake card stock. Punch out. Punch again from smaller Early Espresso. Cut the Early Espresso in half width-wise using Paper Snips and adhere to back of sentiment with SNAIL Adhesive so it creates a layer. Two Early Espresso halves will not meet in back.
- Create a spray of three pinecones by adhering them at their bottom with Mini Glue Dots. If you have a household stapler, stapling once at the bottom so all three pinecones are captured will keep it very secure when handling.
- Fold over the shorter ribbon piece in half. Trim ends. Spread them apart and adhere at joint with one Mini Glue Dot. Using another Mini Glue Dot, attach to spray of pinecones.
- Using Mini Glue Dots again, adhere sentiment piece to bottom of pinecones so they display to left of sentiment.
- With Stampin’ Dimensionals, adhere Designer Series Paper piece to card base then sentiment to DSP piece.
- Add two Share What You Love Artisan Pearls to sides of sentiment.
Isn't it a pretty card? I LOVE the sentiment and THE PAPER...it's BEAUTIFUL! I'm so glad we can get it with a $50 purchase now...without the stamp set...I only need one stamp set...but I want LOTS of the paper!
Well..that's it for today! Have a wonderful day and THANKS BUNCHES for stopping by!
Don't Forget...
REMEMBER...use this months hostess code RPEWHA6S and place a minimum order of $50 (before tax and shipping...any you will also receive the gift pictured below ABSOLUTELY FREE!
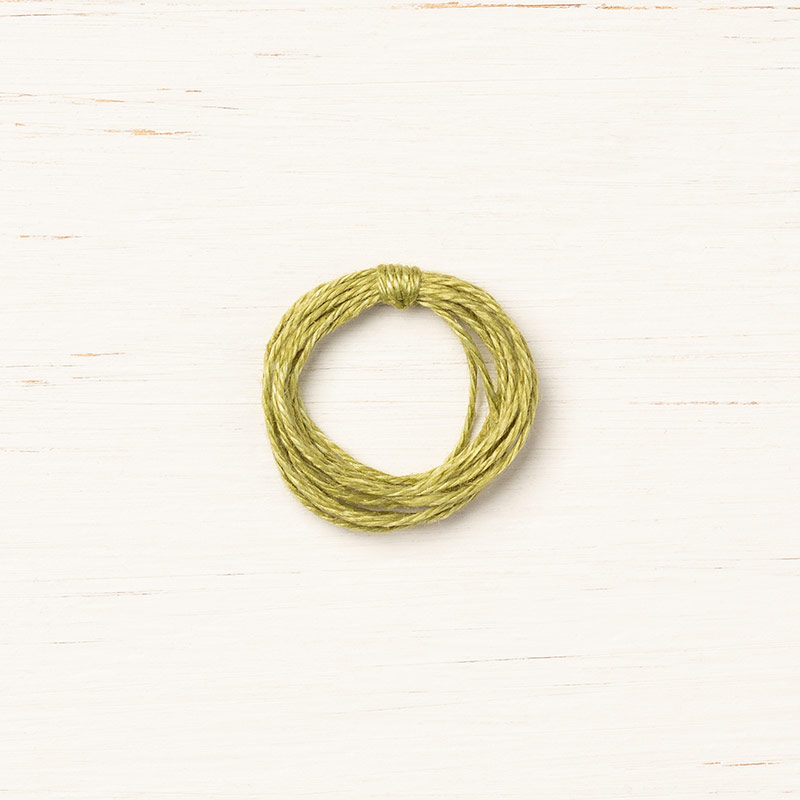
Old Olive Linen Thread
a $5.00 value
You'll also receive the following...
- One Darla Daisy for every $50 spent (before tax& shipping). When you have 10 Darla Daisies you can choose $40.00 of Stampin' Up! product(s) of your choice from me! Just email me your choice!
- The projects we make in my March classes! Here's what were making this month!
If your order is $150 or more, DO NOT use the code because you will receive hostess credits. You will get the gift from me FREE automatically along with the projects we make in my March classes!
Your FREE gifts will be shipped separately and will be shipped during the 1st week in April!
~Today's Thought~
|
|


No comments:
Post a Comment
Thank you for your comments....they are always such an encouragement!